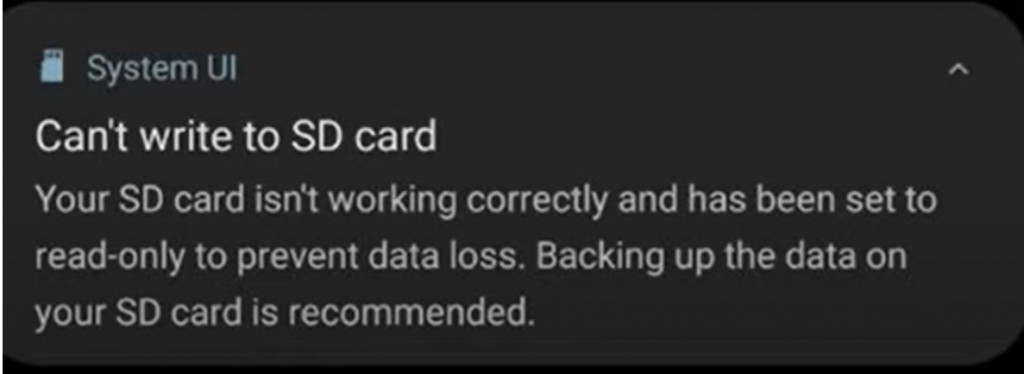
Android users using an SD card in their phone might be presented with an error message stating that their SD card is read only and that to protect the card it’s not possible to write to the card. Annoying because the SD card is pretty useless if you can’t write to it.
The error comes from System UI and states:
Can’t write to SD card. Your SD card isn’t working correctly and has been set to read-only to prevent data loss. Backing up the data on your SD card is recommend.

Many solutions on the internet are either outdated or require a format, which means you will lose all your data.
A more simple solution is possible if you have an external microSD card reader/writer. These can be obtained for a couple of dollars/euros pretty much everywhere.
Step 1
Open your phone and remove the microSD from your Android phone and insert it in your card reader/writer.
When the card is inserted, Windows 10 or Windows 11 probably won’t read it and mention that the storage device needs to be formatted.
But don’t format it!
Step 2
Open Windows File Explorer to see which drive is attached to the card reader with your microSD card. This could be e.g. D: or E: or any other letter of the alphabet.
Step 3
Then find cmd.exe and start as an administrator (how to). From there type:
chkdsk /f drive:
In my case, the card reader was the h: drive, so I typed:
chkdsk /f h:
After you press enter, you will probably see a lot of text appearing on your screen, just wait till it’s finished.
Step 4
After it’s finished, make sure you properly remove the microSD card. Use the eject hardware option available in the system tray, at the right bottom of your screen, next to the time and date. Still don’t know how to do that? Read more here on how to properly eject your microSD card. Don’t forget this step, or your card might be corrupt again!
Put the microSD card back in your phone
After that, try the card again in your phone, and it should work!
If your microSD still isn’t fixed, then it might be even more corrupt.
Still not fixed? Try this more powerful, but also more time-consuming trick!
Repeat the former steps, but instead of chkdsk /f drive:, use:
chkdsk /r drive:
So in my case:
chkdsk /r h:
This will do a much more thorough scan, pretty much on hardware level. The disadvantage is that it takes a lot of time, hence you better first try the /f option. Be warned, this might take hours!!
Hope this helps!
